
There are many reasons why someone wants to forward all incoming mails from a domain to a specific address. One use case is by sure testing. If you test an application, then you probably need a lot of mail addresses. To avoid creating all the mail addresses, you could use tools like postfix for it. But it also requires some setup and configuration.
I am Office 365 user and I love it and by sure, I want to solve this issue with Office 365. I tried it and it took some time, but then I found the right setup.
So, what I want to achieve is simple:
All mails sent to @tst.axr.at should be forwarded to a shared mailbox, where all testers have access (or to specific address).
Sounds simple and you can easily configure it in Office 365, but there are a few pitfalls, that’s why I created this blog post. So let’s go through it step by step.
Step 1: add subdomain to Office 365
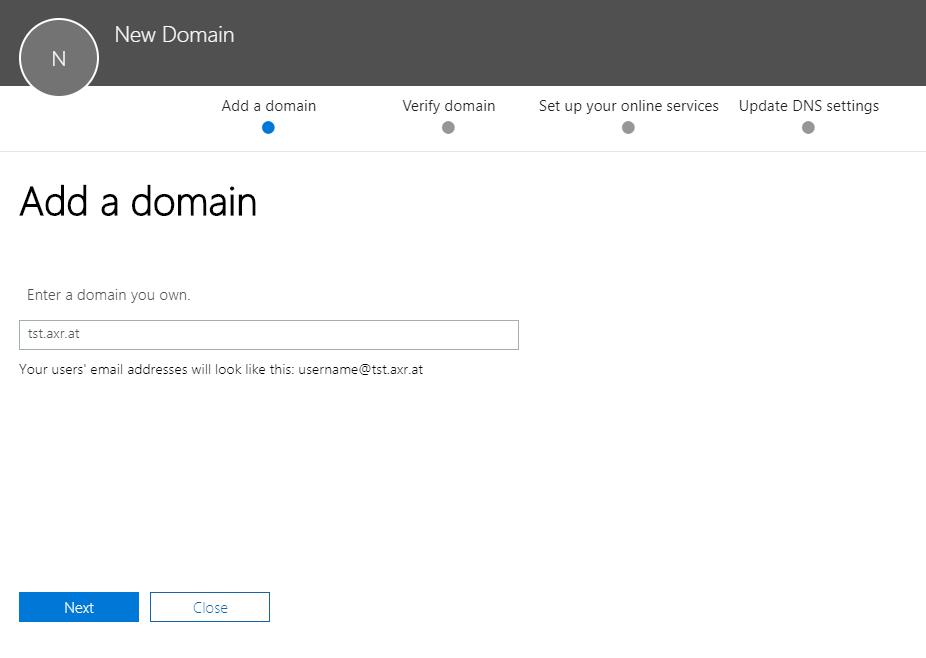
Login to Office 365 Admin center, go to Setup – Domain, and add a new domain. You can enter e.g. tst.axr.at. You can also do the following steps with a complete new domain that you only use for test accounts.
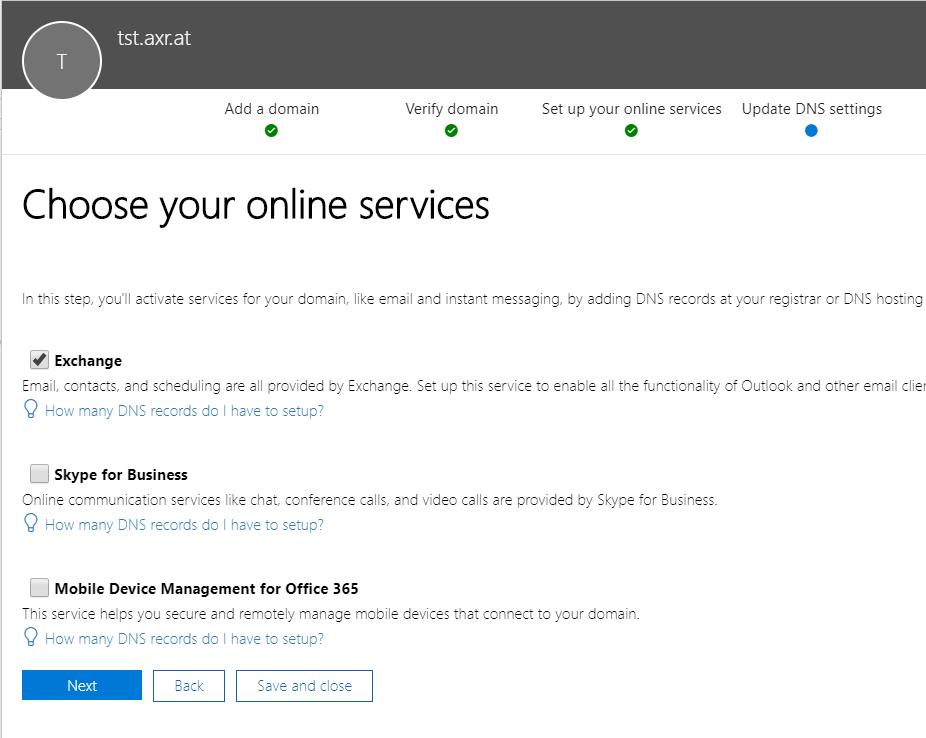
If you added the domain, select Exchange as only online service and wait for the upcoming screen with the updated DNS entries.

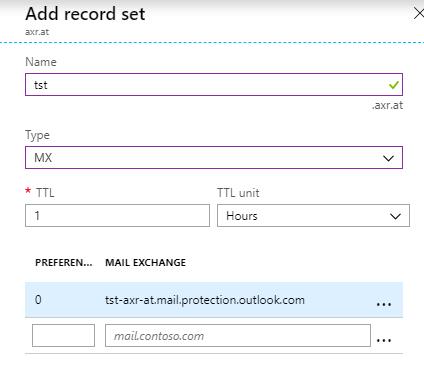
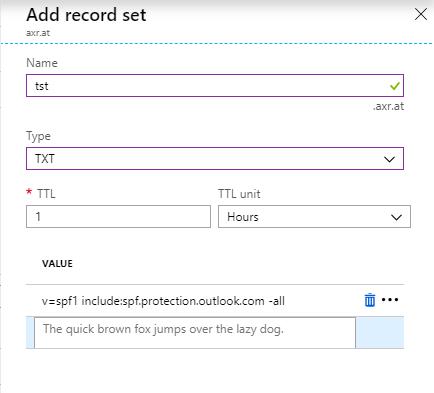
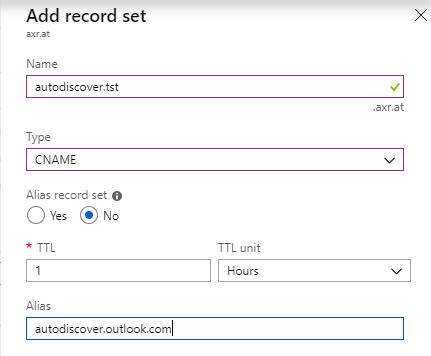
Configure the DNS records – in my case:
MX | tst.axr.at | tst-axr-at.mail.protection.outlook.com | 0
CNAME | autodiscover.tst.axr.at | autodiscover.outlook.com
TXT | tst.axr.at | v=spf1 …
Press verify and thats it! First step done!
Step 2: Configure exchange
Open the exchange admin center, go to “mail flow” and to accepted domains.
Edit the newly added domain and configure it as “Internal Relay”:
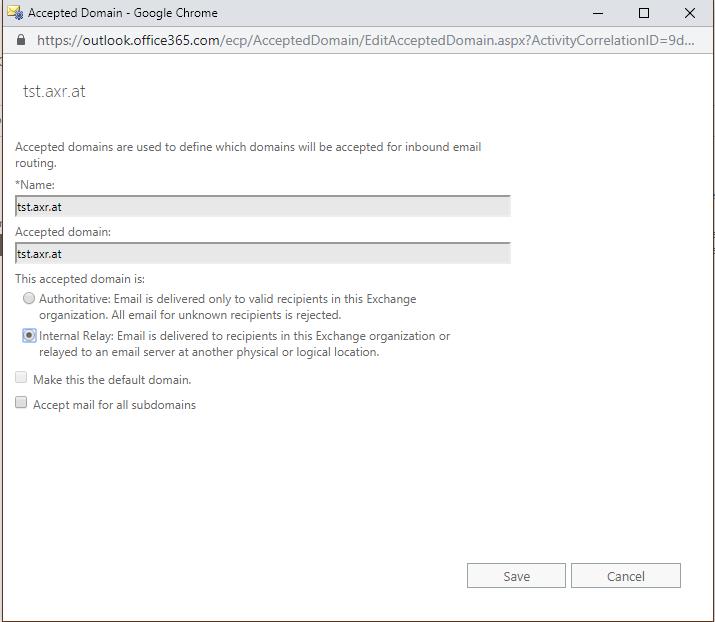
This is necessary because without setting it, all emails without an existing mail address will be dropped by the system. You can send mails to [email protected], but they will be blocked before a rule is executed!
Press save and accept (means ignore) the warning.
Go to the rules tab and add a new rule. Give it a nice name and press the “more options…” button which will allow you to configure more stuff. The configuration for the rule is:
- Apply the rule if: “A recipient’s domain is…” – “tst.axr.at”
- Do the following: “Redirect the message to…” – select your user or a shared mailbox (where all testers have access).
You can also forward it to a sharepoint list, external mail address or whatever you want:

Note: I once tried it with a rule “If recipient’s address includes any of these words” and “@tst.axr.at” – but it didn’t work! So better use the “A recipient’s domain is…”
Save it and try it out.


Comments are closed